If you’re in the construction industry to improve buildings, revolutionize processes and work smarter, it may be time to rethink your concrete reinforcement.

How to Mix & Place Helix Micro Rebar
Combining Helix Micro Rebar With Your Concrete and Placing the Mix Has Never Been Easier
With procedures understood by your crew and ready-mix operators, you will quickly realize that placing concrete has never been this easy. Using Helix Micro Rebar instead of pre-tied rebar allows concrete trucks to drive adjacent to your slab pour site with ease. The speed means days and even weeks cut from your concrete schedule. Helix Steel can walk you and your team through these procedures.
Mixing Procedures for Helix Micro Rebar
Helix Steel works with Engineers, contractors, concrete plants and crews to ensure that the methods described below are followed and that there are no questions or concerns.
Before any concrete is mixed or placed, a pre-pour meeting is conducted. This is when several areas are reviewed:
- the Helix Micro Rebar dosage
- the mixing plan
- the quality control plan
- And instructions for ready-mix truck drivers.
For commercial projects, Helix Steel can also provide live support.
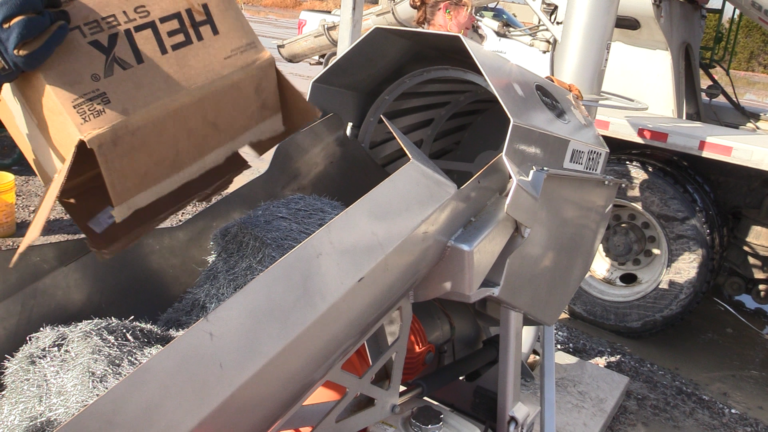
Adding the Helix Micro Rebar to your concrete mix can be accomplished through hand dosing, sifters, portable conveyors, blowers or hoppers, either at the batch plant or onsite. When and how to mix the reinforcement will depend on the concrete plant type and the available equipment you’re using, so be sure to understand the instructions provided by Helix Steel.
Following this procedure will help to prevent Helix Micro Rebar from clumping.
- Add all Helix Micro Rebar to the truck drum. Typically this is done by hand, dumping the entire contents of the box into the drum while it is at idle speed. If available, this is done from a slump check stand or by using a conveyor from ground level.
- Drive the truck into the plant.
- Once the truck is in position under the chute, increase the drum to full charging speed and add a minimum of 50% of the batch water to the truck (more than 50% is okay).
- Allow the Helix Micro Rebar and water to mix for no less than 45 seconds while delaying the addition of the remaining materials. NOTE: Once the water and Helix Micro Rebar are in the drum and the drum is at charging speed, the drum speed must not decrease.
- Add the aggregate, sand, cement and remaining water to the truck and mix in the normal matter (60 revolutions minimum).
- For dosages below 15 lb/yd3 (9kg/m3) follow the dry procedures with 7 gallons (27 liters) of water in the drum (instead of the 50% requirement). NOTE: Once the water and Helix Micro Rebar are in the drum and the drum is at charging speed, the drum speed must not decrease until all batching is complete.
- For higher dosages please use the Site Batching instructions below.
- Set the drum to charging speed.
- Helix Steel recommends using a blower for site batching to reduce issues – ask us about blower availability. For hand batching, sift Helix Micro Rebar through 2’’x 2’’ (50mm x 50mm) mesh. The dosing unit breaks up clumps and ensures Helix Micro Rebar goes into the truck at a controlled rate (about one box per minute). When Helix Micro Rebar is added at this stage, it must enter the mixer clump-free.
- Helix Micro Rebar may collect on residual concrete on the interior surfaces of the hopper. Push the Helix Micro Rebar into the drum, avoiding clumps. Adding a slippery lining, such as PVC sheeting, to the hopper may help avoid these buildups.
- Mix at charging speed for five minutes (60 revolutions) after Helix Micro Rebar is added.
Pan Mixer / Drum Mixer
- Set the mixer to the proper speed.
- Add Helix Micro Rebar at a rate of 45–60 seconds per 45 lbs (20 kgs).
- Helix Micro Rebar should be added with the aggregates.
- Mix at maximum speed for five minutes after Helix Micro Rebar is added.
Important Notes:
- Mixing should be done in accordance with ASTM C94 and the mixing instructions above.
- The dosage of Helix Micro Rebar added to the mix should be noted on the batch documentation in accordance with Uniform Evaluation Service ER 279 Section 5.15 and verified using the procedure in ER 279 Appendix A.
Placing Procedures
Placing concrete with Helix Micro Rebar is very similar to standard concrete placing procedures. Whether you’re using a pump, buggy, telebelt, portable concrete hopper or direct discharge, place as you normally would.
One of the primary benefits of choosing Helix Micro Rebar is that there is no rebar or mesh in the way of your crews and trucks for concrete slab applications. You can often drive cement mixers right up to the pour site with no need for pumps or belts. (And the costs associated with them.)
When direct placement is not possible, Helix Micro Rebar is also compatible with all concrete pump systems. Helix Micro Rebar pieces are 1” long and present minimal pumping resistance but use a minimum 3” line to pump Helix Micro Rebar-reinforced concrete.
Consolidating/Vibrating Procedures
Helix Micro Rebar must be consolidated in many concrete applications – such as ICF and slabs – to remove entrapped air bubbles and eliminate voids. Just like standard reinforced concrete, do not over-vibrate.
Slabs and other structures require vibration at dowelled construction joists, bulkheads, penetrations or where rebar is placed, such as reentrant corners and loading docks. Although slabs can be placed without consolidation using only a hand straight edge, vibrating the entire slab surface is good practice.
Read about the final stage of “Working With Helix Micro Rebar”: Finishing.
More News
Is Your Business Still Living in the Rebar Age?
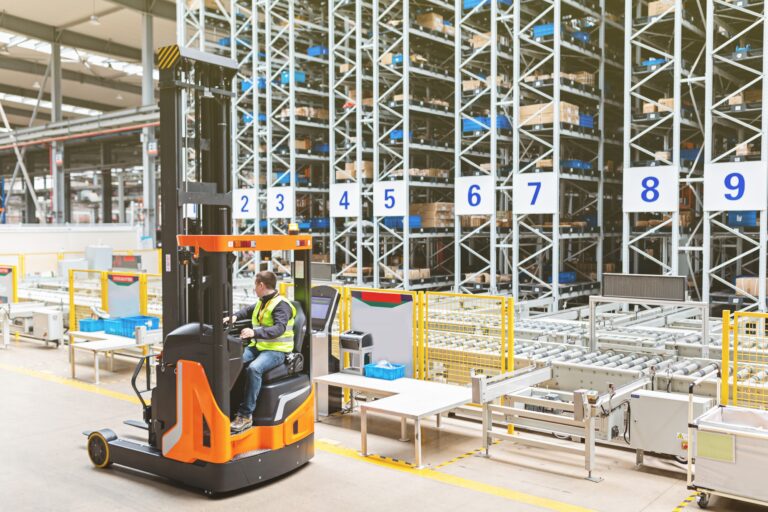
Cracking Under Pressure? Trust Helix Micro Rebar™ for Warehouses With Automated Storage and Retrieval Systems (ASRS)
Automated Storage and Retrieval Systems (ASRS) are increasingly becoming essential for modern warehousing and distribution facilities, revolutionizing how materials and products are stored and retrieved.
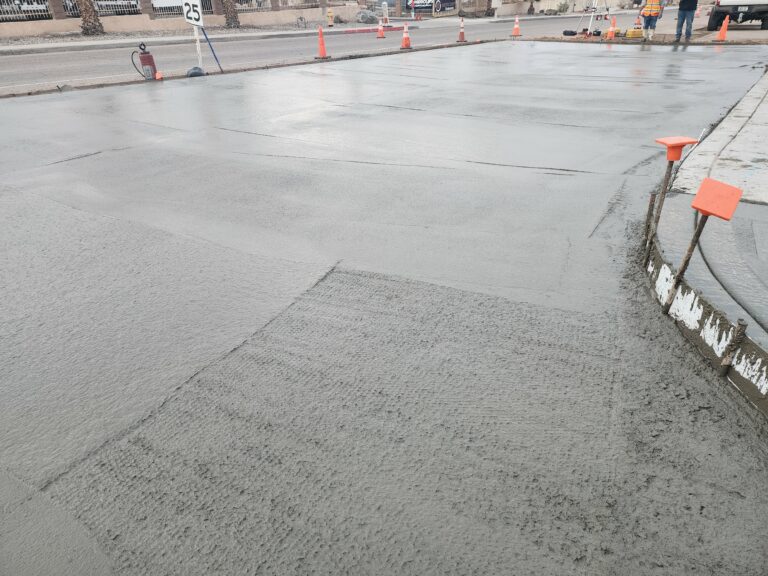
Case Study: Paving the Road to Success With a Better Concrete Reinforcement
Lake Havasu City in Northwest Arizona has faced serious issues with its asphalt roads due to the extremely high desert temperatures. Since asphalt temperatures are 40 to 60 degrees hotter than the temperature of the air, damage to roads is frequent, especially in places where vehicles are braking and turning.
Sign up for our newsletter to stay up to date on the latest news and events from around the industry.