There’s an innovative solution to conventional labor-intensive, time-consuming processes in ICF construction and it’s only produced by Helix St
Finishing concrete that has Helix Micro Rebar does not require any special equipment.
Helix Micro Rebar is easy to use – it can often be stained, stamped, polished and broom finished by following standard best practices for finishing are all you need to ensure an excellent finish every time.
Helix Steel does have several best practices for finishing concrete with Helix Micro Rebar to ensure a satisfactory finish every time.
Screeding Concrete
Screed the surface using a standard vibrating roller or laser screed immediately after pouring the concrete, then do your bull floating. Allow the concrete to swell above the grade line in front of the screed so it can fully engage the concrete as it levels the concrete back to grade. This helps to segregate the paste from aggregates and force the Helix Micro Rebar and coarse aggregates below the surface.
When vibration screeding is impossible, use a “jitterbug” to force coarse materials below the surface and, as with conventional concrete, do not overwork the surface.
Floating
Floating should be done as you usually would. Power floating is preferred to force the Helix Micro Rebar below the surface, but hand-floating can also work effectively. Trowelling will help to produce a dense, smooth, hard surface after the completion of the power or hand-floating.
Floating should not be started until the concrete will sustain foot pressure with only approximately ¼ in (6 mm) indentation.
The importance of bull floating cannot be understated as the process aids the separation of the cement and fines from the aggregate. Bull floating impacts a relatively even but open texture to the fresh concrete surface, eliminating ridges and filling in voids left by screeding. Hand or darby floats can be used in congested areas where bull floating is impossible.
Power floating, using float pans or using float shoes is critical as it breaks open the concrete surface: large aggregate and Helix Micro Rebar float downwards while cement and fine aggregates are sucked to the surface. A raised ridge of paste should be visible around the pans. If power floating is not done sufficiently or if it is started too late, both aggregate and Helix Micro Rebar will remain on the surface or just below as segregation could not occur. The same recommendations apply to hand-floating.
If high flatness is a requirement, please contact Helix Steel for this specific procedure.
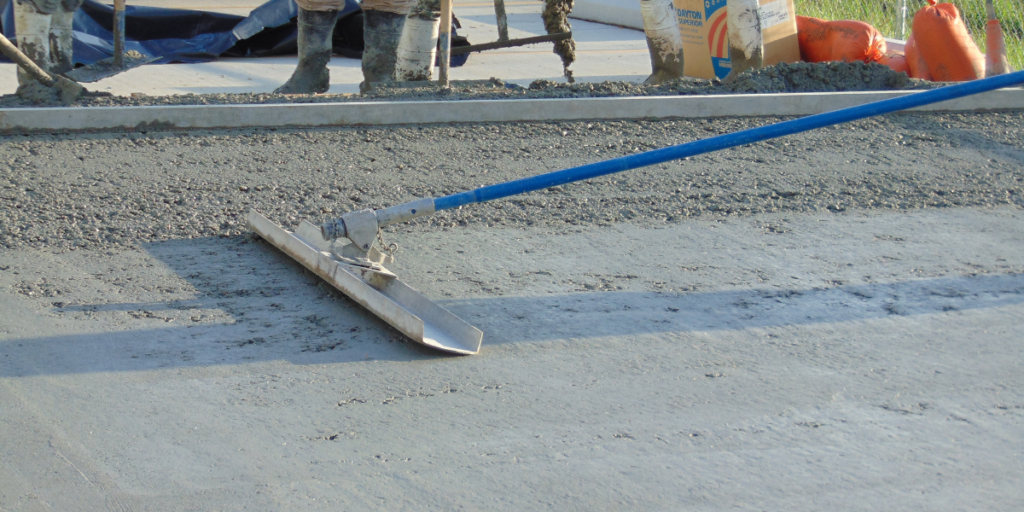
Troweling
The purpose of hand or power troweling is to produce a dense, smooth, hard surface after the completion of the power or hand-floating. Only a small amount of paste should be visible around pans; too much will expose Helix Micro Rebar.
Initially, the trowel blades should be kept as flat against the surface as possible.
For pavements and rough finishes, the floating and troweling operations may be eliminated or
replaced with a broom operation.
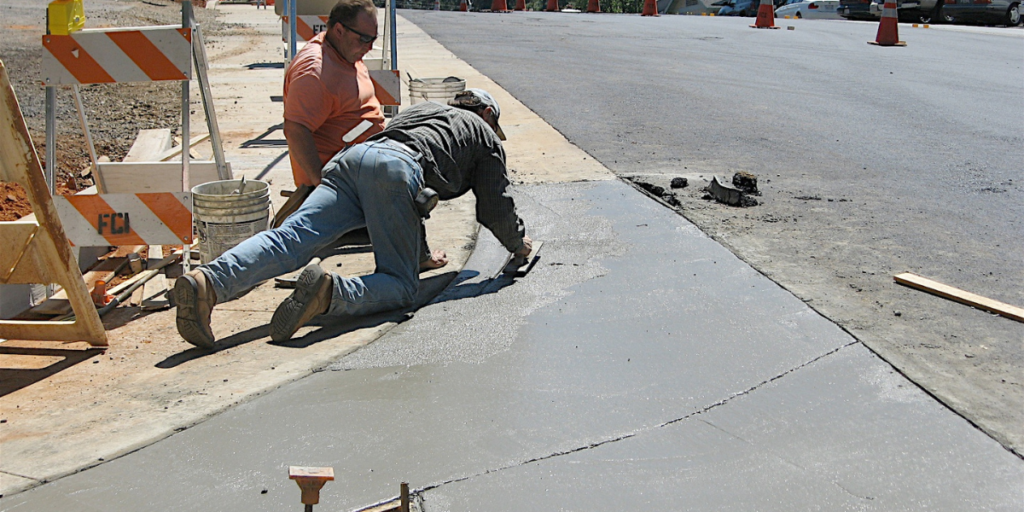
Broom Finishing
A fine-broomed surface is created by drawing a soft-bristled broom over a freshly troweled surface in one direction. This should be done 15–60 minutes after the concrete is poured, when the concrete surface is very stiff, ensuring that the paste layer is disturbed very little.
Using a stiff-bristled broom is not recommended since this will disturb the surface paste and expose the Helix Micro Rebar.
Stamping
Added texture is possible through many stamping methods and equipment to create decorative and practical patterns. Simply follow standard procedures. Helix Steel has a best practice guide that will help.
Slab Cutting
Helix Micro Rebar is compatible with standard cutting processes. If the application warrants it, and when an appropriate time has passed, you can cut the concrete with a premium diamond hard-aggregate blade. Both wet cuts and dry cuts can be used as long as you follow all standard methods and materials.
The preferred way to cut is with a traditional 25-hp wet saw with a premium hard-aggregate diamond blade. Cuts should be 1/3 depth of the slab and should take place 4–12 hours after the slab has been finished. (Closer to four hours in hot weather.)
Dry sawing is also possible and should take place one to four hours after the slab has been finished again with a premium hard-aggregate diamond blade. (Closer to one hour in hot weather.)
Slab Curing
Helix Micro Rebar is compatible with all curing methods and materials. When proper curing measures are taken, problems such as plastic shrinkage cracking, crazing and curling are minimized.
The most common method to cure concrete with Helix Micro Rebar is a spray-on liquid membrane which forms a curing compound containing synthetic resins in a solvent. Curing can also be accomplished with wet coverings such as burlap, waterproof paper or plastic sheets which should remain wet for seven or more days.
Exposed Floors
Helix Micro Rebar may be used in exposed (uncovered) (as defined by ACI 302.1R-15 Class 1) concrete slabs. To assure Helix Micro Rebar is forced below the surface, pay careful attention to the best practices. Your Helix Steel representative will help you with best practices during the pre-pour conference. When used in residential settings we recommend a mockup to ensure the mix design and finishing method produces an acceptable result for the owner.

Slab Polishing
Concrete slabs with Helix Micro Rebar can be polished to a beautiful shine. There will be occasional exposed Helix Micro Rebar along with the aggregate, but Helix Steel has detailed slab polishing procedures available to ensure success.
Ask your Helix Steel representative for a copy of this procedure. We recommend a mockup to ensure the mix design and polishing method produces an acceptable result for the owner.
Finishing your Helix Micro Rebar-infused concrete has never been easier. Reach out to the Helix Steel team to learn more about this stage or any other in the “Working With Helix Steel” process.
You can also return to the beginning and begin your journey of “Working With Helix Micro Rebar”: Specifying.
More News
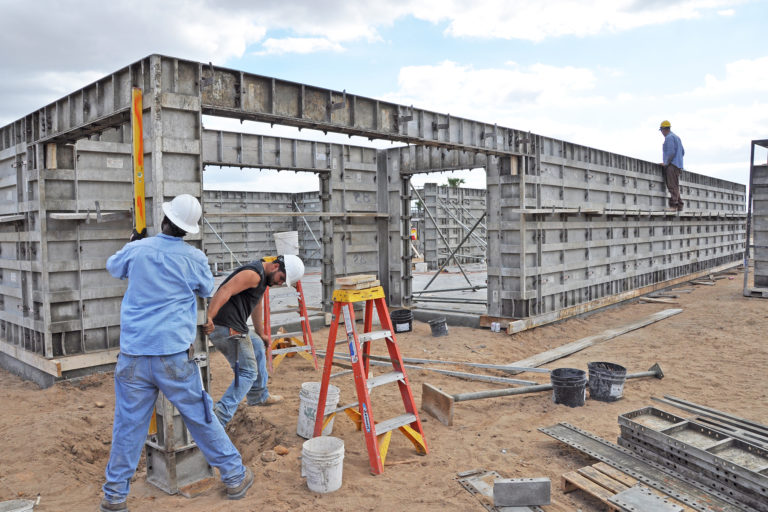
Building Better Homes Starts with ICF and Helix Micro Rebar
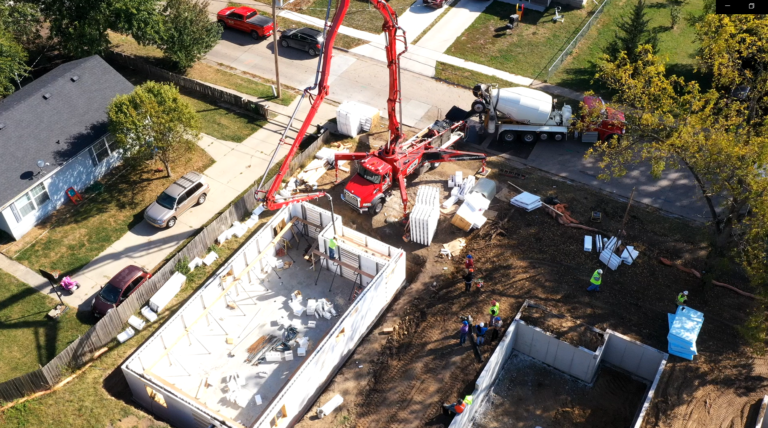
The Better Way to Build in Every Direction
Whether you’re building below-grade or above-grade, the tiny twisted concrete reinforcement known as Helix Micro Rebar is taking the construction world in new directions
Is Your Business Still Living in the Rebar Age?
If you’re in the construction industry to improve buildings, revolutionize processes and work smarter, it may be time to rethink your concrete reinforcement.

